
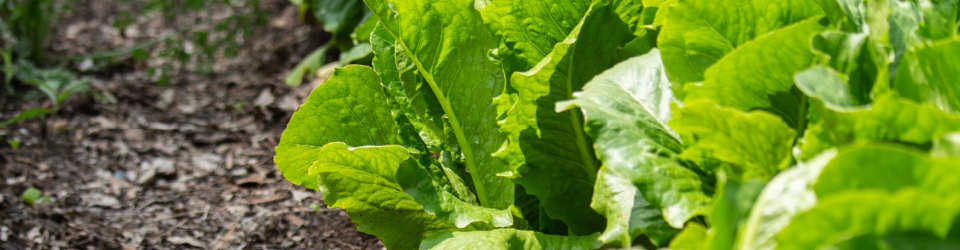
Cool and classic or chic and contemporary, no matter what your style, you’ll always be proud of an entrance flanked with beautiful containers highlighting just-right evergreens. In this case, “evergreen” doesn’t necessarily mean a conifer, either – many other shrubs remain green in the winter and can be beautiful showpieces welcoming guests to your home.
Planting Your Container
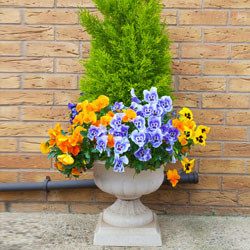
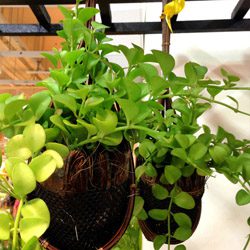
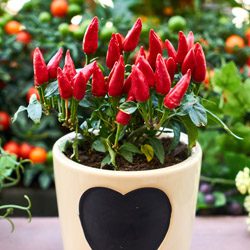
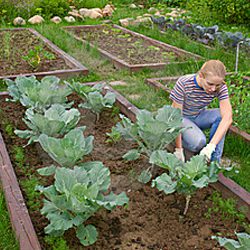
Entrance way evergreens are generally planted in containers and frame a doorway, walkway or arch. If you truly want your evergreens to take center stage, opt for more understated, neutral containers, but select shapes that match the architecture of your home. You can opt for a boldly colored container, but take care that the container’s decorations won’t overwhelm your evergreens.
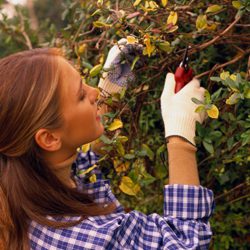
You will want to use high quality potting soil for the container to provide adequate nutrition for your evergreens to thrive. Also pay careful attention to the moisture levels, watering the plants appropriately – containers often need more frequent watering than plants in your landscape. You can rotate the containers regularly to help the plants get even sun exposure, and regular fertilizing will help keep them healthy.
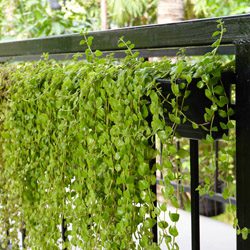
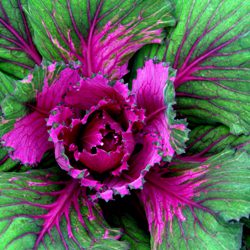
If you’re not sure how to plant a container, try this simple formula: “Use a thriller, filler and spiller.” Thriller refers to the tallest or showiest plant, the one that immediately catches the eye. The fillers are the plants surrounding the thriller that add more structure and bulk to the arrangement, filling in empty spaces. The spillers are plants to grow over, and soften, the edge of the container, giving it a more natural, organic look.
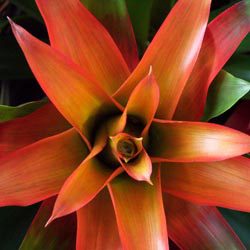
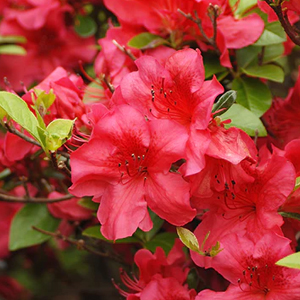
Here’s a listing of “thriller” plants to consider for your door decor. We can make recommendations of dwarf cultivars of many of these plants. Dwarfs will take longer to out-grow their container. Happy potting!
- Shade
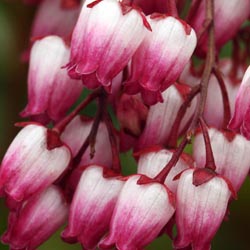
- Azalea*
- Boxwood
- Camellia*
- Evergreen Viburnum*
- Japanese Andromeda*
- Heavenly Bamboo*
- Mountain Laurel*
- Sun
- Arborvitae
- False Cypress
- Juniper
- Heavenly Bamboo*
- Holly
- Pine
- Spruce
- Yews
- Yucca*
* These plants flower!
Accents for Your Entrance Evergreens
In addition to welcoming your visitors with a beautiful entrance, it’s easy to entertain them and show your style when you accessorize your evergreens. Festively dress your plants to coordinate with seasons or holidays. Fun and creative options include…
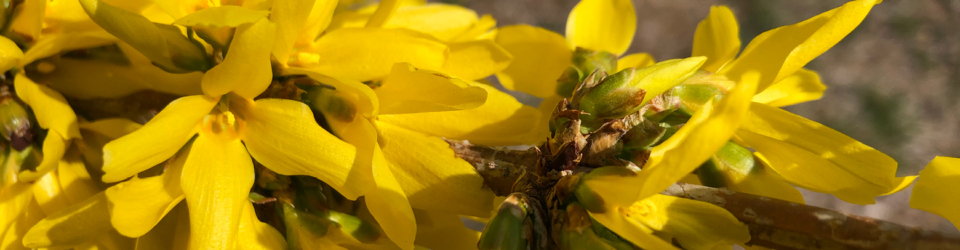
- Spring: Small bunnies, silk spring blooms such as daffodils, pastel Easter eggs
- Summer: Patriotic flags or ribbons for Memorial Day and the Fourth of July
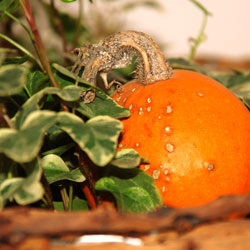
- Fall: Scarecrows, pumpkins, Indian corn, Halloween decorations
- Winter: Holly sprigs, tiny twinkling lights, beaded garlands, snowflake ornaments
You can also personalize your entrance evergreens for birthdays, anniversaries or to showcase your favorite teams, colleges, hobbies and more. All are easy to do, fun, and affordable, and make your entrance truly eye-catching.