

You don’t need expansive acreage to grow a thriving vegetable garden. In fact, growing vegetables in pots can be very productive and can bring a delicious, healthy harvest to your home no matter what type of garden space you may – or may not – have to work with.
Why Grow Vegetables in Pots?
Whether you have a balcony, fire escape, small patio, narrow stoop, or windowsill for your gardening efforts, there is always room for a pot or two of vegetables. Yet vegetable container gardening is about more than just saving space, and there are many benefits to using pots for your garden plot.
When using pots, for example, your garden space is much less likely to be overtaken by weeds, saving you time and effort. Pots are also easier to move around your space in order to take advantage of the best positioning for sun, rainfall, and weather protection. Pots and containers can also be more comfortable for you to tend without needing to bend down or kneel as much to reach your plants and harvest your vegetables.
Easiest Vegetables for the Urban Garden
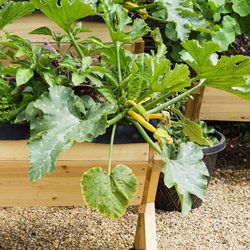
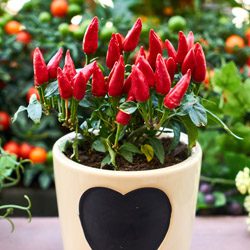
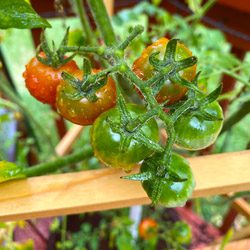
There are many options for container garden vegetables. Ideally, choose cultivars that are dwarf, miniature, or compact whenever possible, as they will be better adapted to lush growth in pots and small spaces. Popular choices include:
- Beans
- Broccoli
- Carrots
- Chard
- Chilies
- Cucumbers
- Eggplant
- Kale
- Leeks
- Lettuce
- Okra
- Onions
- Peas
- Potatoes
- Radishes
- Spinach
- Peppers
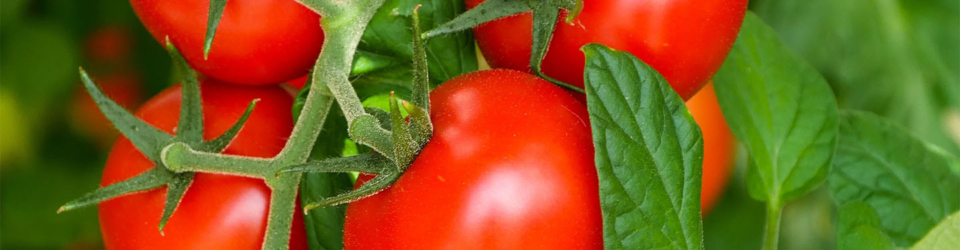
- Tomatoes
Because you may have less growing space than a traditional garden, choose vegetables you love and that you will use to make the most of your gardening space. Also be aware of how much sunlight your pots will receive, how deep the pots are for roots or root vegetables, and whether the plants will need vertical space for climbing before you plant them. The more familiar you are with each vegetable’s growing needs, the better choices you can make for vegetables that will flourish in your urban garden.
Tips for Growing Vegetables in Pots
No matter which vegetables you choose to grow in pots, they will need proper care to reach their full potential for a bountiful harvest. To help your container vegetables thrive…
- Choose the Proper Pot – Consider the root system of your favorite vegetables and choose a pot deep enough to allow the roots to flourish. If you are planting root vegetables, you will need a deeper pot that allows more space for veggie growth. Bear in mind that ceramic or clay pots can be very heavy, so plastic pots may be a more convenient and easier option.
- Position the Pot for Good Sunlight – Many leafy vegetables do well in part-shade conditions, while other vegetables need greater amounts of sunlight for the best harvest. Putting pots on a plant caddy or stands with casters can make it easy to move each container for maximum sunlight throughout the growing season.
- Provide Necessary Support – Vining and tall vegetables may need stakes, cages, netting, or trellises to support the plant and help it stay healthy. Using proper supports will also maximize your vertical growing space. It is best to have that support in place when the plant is young, so you do not accidentally damage roots when adding a support later.
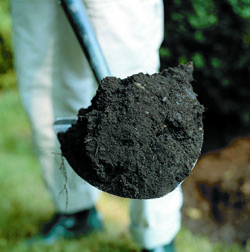
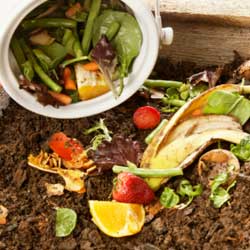
- Use the Best Soil – Because container vegetables don’t have as much soil to draw nutrition from, it is critical to use a high-quality potting mix when growing veggies in pots. Choose a mix that will maximize water retention to help with watering and mix in compost or appropriate fertilizer with the soil before you add your vegetable plants.
- Water Adequately – All vegetables need adequate water for lush growth and veggie production. Depending on the pot size, plant type, and climate conditions, you may need to water vegetable pots daily or even twice per day to ensure they have good moisture. Consider self-watering containers to make this garden task even easier.
- Feed Plants Properly – The right fertilization and feeding schedule can improve your plants’ health and increase the yield of even small vegetable pots. Choose a liquid fertilizer that will meet your plants’ needs and apply it according to the label directions for the best results that maximize the productivity of your vegetable plants.
- Consider Combination Planting – It’s easy to plant different vegetables in the same pot, but take care to group plants with similar water, fertilization, and sunlight needs so each pot can get the proper care. Themed pots can be a fun way to add flair to your vegetable garden as well – try a salad pot, a pizza pot, or even a pot for pickles, each one with related herbs and veggies.
- Stay Alert to Pests – Unwanted pests can invade even container gardens. Inspect your pots weekly for pests such as slugs, aphids, and leaf hoppers. It is best to use the safest solution available to control insect infestations. Also, in urban gardens, animals such as stray cats, dogs, or even rats can also be a problem and you should use cages or other techniques to protect your plants if necessary.
Growing vegetables in pots can bring you a delicious, nutritious harvest no matter what the size or location of your gardening space. By choosing vegetables adapted to containers and giving your pots the best of care, you’ll soon have an amazing crop to enjoy.